Code alongside your AI agent with git worktrees
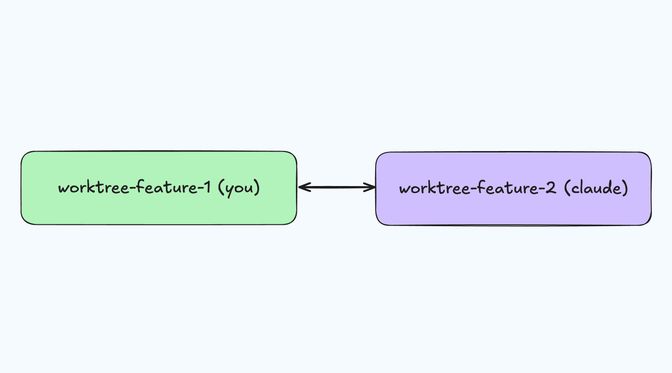
While my AI agent was busy, I was wondering how to code in parallel. I found that git worktrees were the perfect solution!

I recently started giving Claude Code a try to find out what the hype was all about and experiment with it myself.
One thing I quickly found out, is that passed the initial permission prompts, the agent was quite autonomous and I was not feeling like watching it work on the side and wanted to also code myself while it was busy building my features.
Parallelizing local development
The obvious and simple solution here is to create another clone of your repository pointing to a different folder and that works well.
There are a few downsides though
- Long setup time as you need to fetch the whole repository again.
- Increased cognitive load as you need to remember your folder setup structure.
- Sync overhead: you will need to run git pull, fetch, rebase, etc. in each clone to keep them up to date.
Enter git worktree
git worktree lets you create additional working directories that share the same .git history, but with each one on a different branch.
In practice, it allows you to checkout and work on multiple git branches simultaneously.
The way it works is that a worktree is basically another working directory that points to the same .git database, but on a different branch. Each worktree has its own HEAD and index, so you can edit files independently. Thankfully, git also enforces one branch per worktree to prevent conflicting edits.
Getting started with git worktree is easy, for example to create a worktree for your Claude Code AI agent:
git worktree add ../myrepo-for-claudeThis will effectively create a new repository on disk next to your existing current working directory:
myrepo/├─ .git/├─ src/└─ README.md
myrepo-for-claude/├─ .git  ← pointer to main repo├─ src/└─ README.md
Et voila! Now you can start claude in this new folder:
cd ../myrepo-for-claude && claudeHere is the git official documentation for worktree, other useful commands include:
git worktree listto display the list of your worktreesgit remove <worktree>to delete a worktree
Other good use cases for git worktrees
I am actually very glad I learned about git worktrees as it also helps me improve two other workflows I frequently encounter:
Quickly change contexts with great resumeability
It probably already happened to you: you are deep working on a new feature with multiple files open and a lot of in progress work and suddenly something critical pops up that needs urgent fixing. In the past I would either clone a new repository like I described above or stash all my work using git stash.
I’ve never been a huge fan of git stash because it always felt too brittle for me with the possibility to loose my changes easily and it’s hard to track where I am at with my workflows.
Now with git worktrees, when I need to jump on something else, I create a new worktree:
git worktree add ../urgent-fixThe main benefit for me is that I will find my work in the exact same state as I left it.
Quickly run tests on a different branch or commit
You’ve been working on a new feature for quite some time and you find something not working as expected in your app. Now you want how it works in the current app so you need to checkout your main branch.
Same as above, before I started using git worktrees I would either clone a new repository (inefficient) or stash my changes (risky).
With git worktrees, now I can just create a new worktree, checkout my main branch there, run my tests and when I’m done, delete the worktree. It’s quite efficient!
I love discovering things that help my workflow, do give git worktrees a try, they are worth it!
